I love springtime. I early spring blossoms just seem to breathe new life into the whole world, myself included. In Missouri, the dogwood really herald the coming of spring. The warmer breezes are blowing, the birds are singing, and the crappie are biting. When I saw the dogwood blossom stems at Joann’s, I knew I needed them for SOMETHING! I brought them home and started playing around with them with some other things I had around. I ended up with this beautiful DIY dogwood wreath. Today, on this gray January day, I wanted to share a tutorial with you so you can have one of your own! (Need something with even more color pop for those gray days? Check out this cheerful succulent wreath with tulips!)
Look for special tips in bold! I know not everyone needs every step of this tutorial to make this beautiful wreath, so I’ve made it easy to scroll through and find tips to make it go together more smoothly.

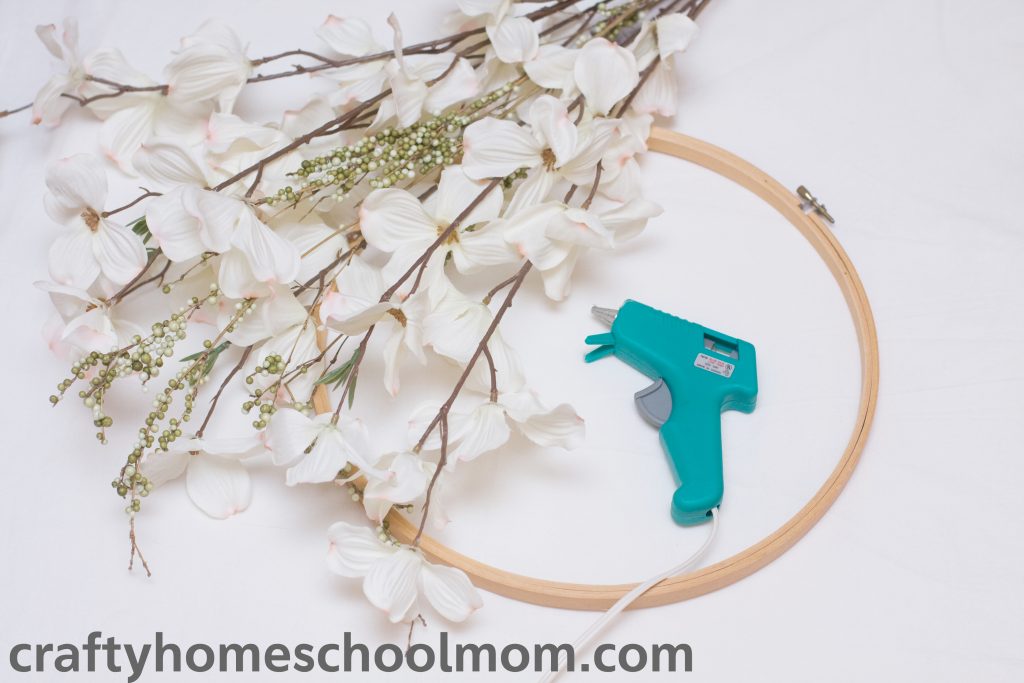
Supplies for your DIY Dogwood Wreath
You will need:
- Stem of dogwood blossoms
- Stems of berries (mine were actually attached to the dogwood blossom stem, linked above – Bonus!)
- Large embroidery hoop
- Hot glue gun
- Raffia or ribbon
Not comfortable using a glue gun? Get my free Glue Gun Guide to help you get started!

DIY Dogwood Wreath Tutorial
Step 1: Trim
Trim your dogwood blossom stems so you just have the flowers and berry stems you’ll need. Make sure to cut the stems short enough so they don’t hang over the back edge of the embroidery hoop. So if your hoop is 1/2″ wide, your flower stems should not be longer than that. At the same time, if you cut flower stems too short, sometimes the entire flower will fall apart, so be careful not to do that either. You need enough stem to hold it all together and glue to the hoop.
Looking for more crafts? Check these out!
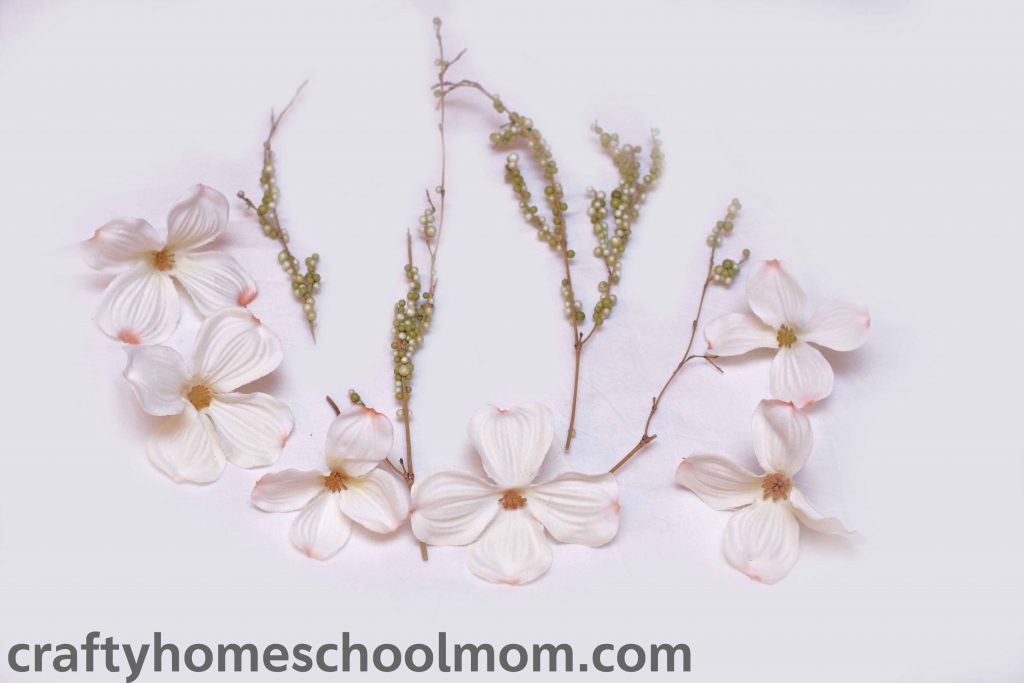
Step 2: Lay out your berry stems
Lay out your berries to get an idea of how you’ll be gluing them. (Use the screw on the embroidery hoop as the bottom. I’ve taken out the inner circle of the hoop to use for a later project.) You can always trim more off later, so it’s better to leave them a little longer than necessary so you have something to hold on while working with the hot glue.

Looking for more springtime crafts? Check out this Dollar Tree Valentine Heart Makeover!

Step 3: Lay out the dogwood blossoms
Lay out our dogwood blossoms to get an idea of where they’ll look good. This isn’t an exact science as they won’t really stay in place until glued, but it’s a good start. I ended up adding more later, so I think it’s better to add more than you think you’ll want. They look really nice and more natural when clumped together a little.
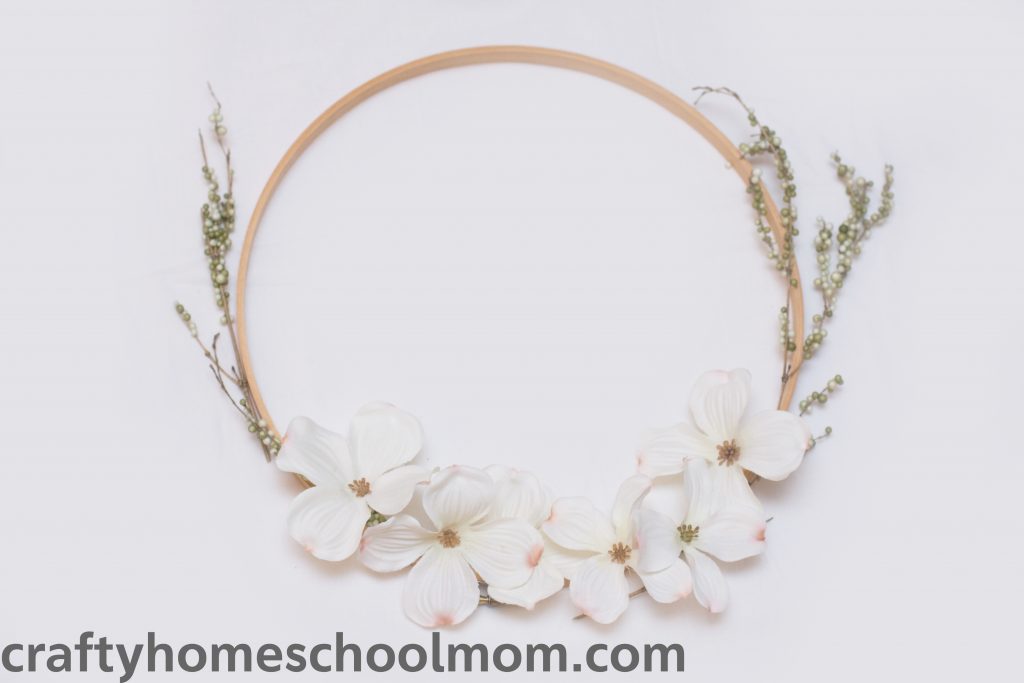
Step 4: Glue on the berry stems.
Carefully remove the blossoms, keeping them laid how you plan to use them. Also remove one side of the berry stems. Then, picking up just a little bit of each berry stem, place hot glue on the hoop and stick down the stems. Be careful, the stems will break if they’re real wood like mine! So when you have one spot glued down, don’t yank up the other end to put glue on. If you just lift them a little bit, you can squeeze glue in between the stem and the hoop and it works really well. Glue on all the stems.
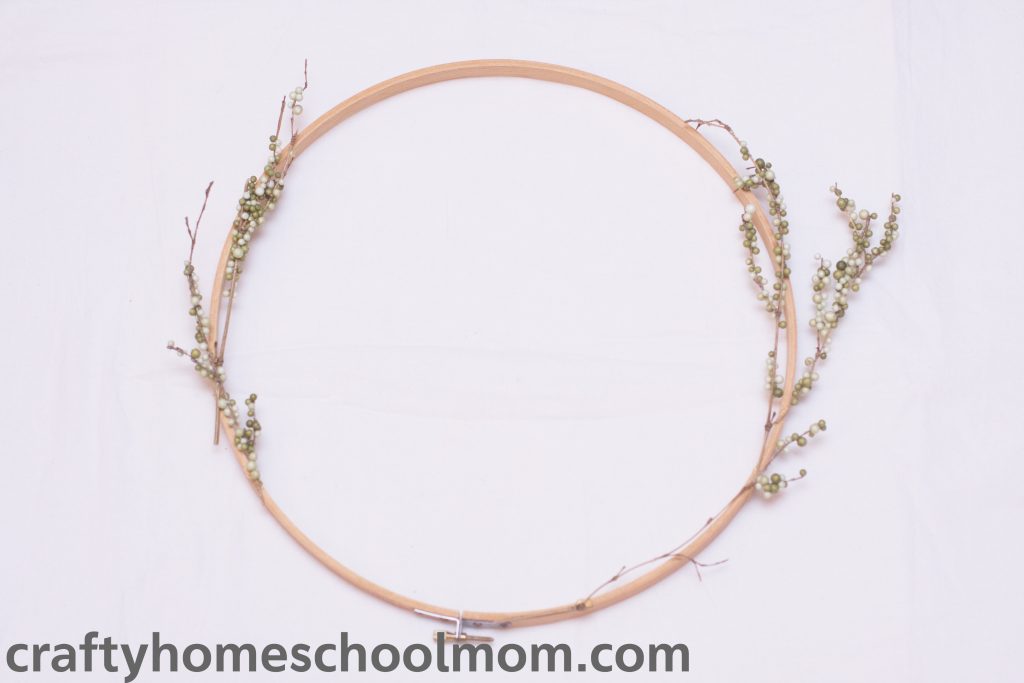
Step 5: Glue the blossoms on your DIY Dogwood Wreath
This is the part where the arrangement of the flowers gets a little tricky. You’ll want to play around with it, but I found that for my DIY dogwood wreath, it looked best with some of the blossoms kind of folded in and some of them open wide. You’ll want to work that out as you go and not wait until the end because squeezing in extra blossoms can be a pain and may not turn out like you’d like.
When you’re ready to start gluing, put a large dab of glue on your embroidery hoop and stick the flower in. Give it a few seconds to dry and then go on to your next flower. After you’ve got them all on, add more hot glue on top of the stems to make them stick really well. You can see here approximately how far apart they are spaced.
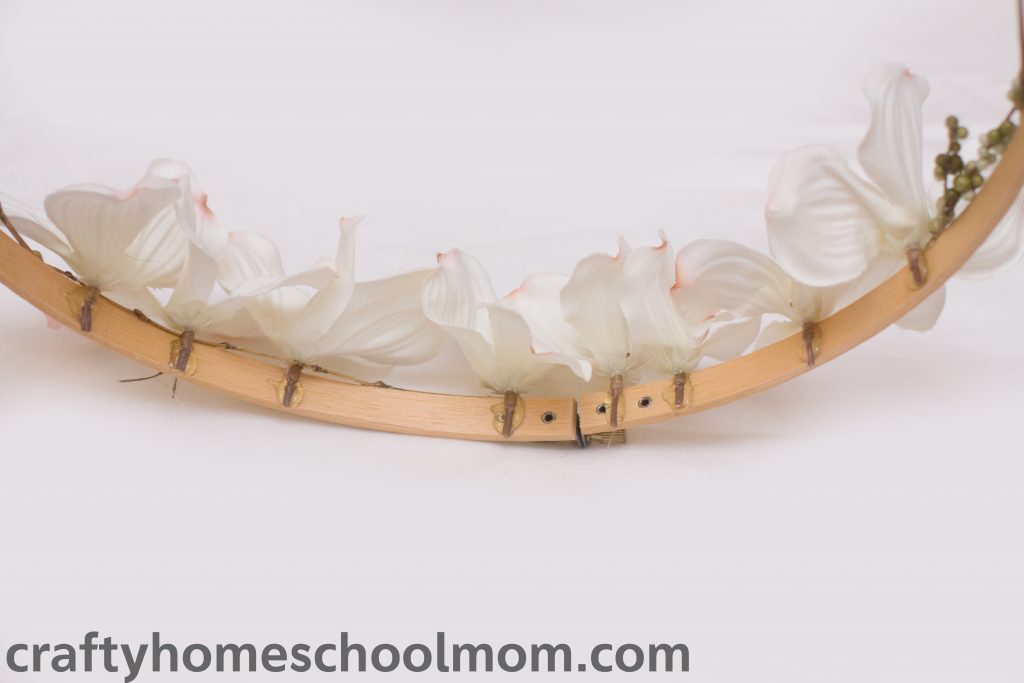
Here they are all glued on!
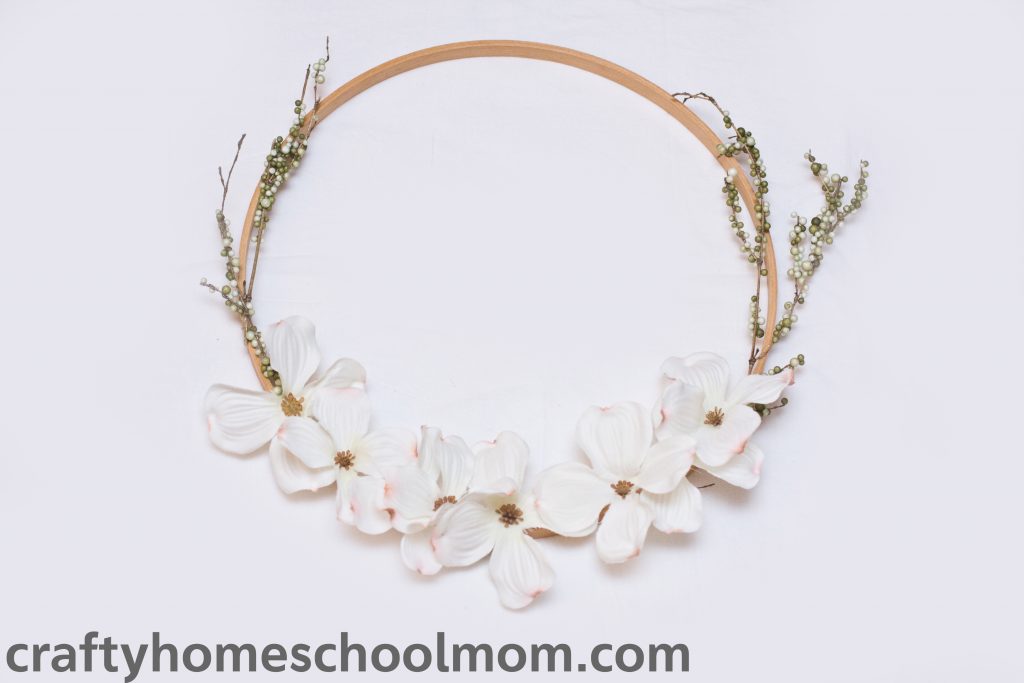
At this point, I realized I hadn’t planned a way to hang my wreath. I went and looked in my supply room and found some raffia. I could have used ribbon, but I didn’t want something that would take away from the simple beauty of the flowers. I love how it turned out!
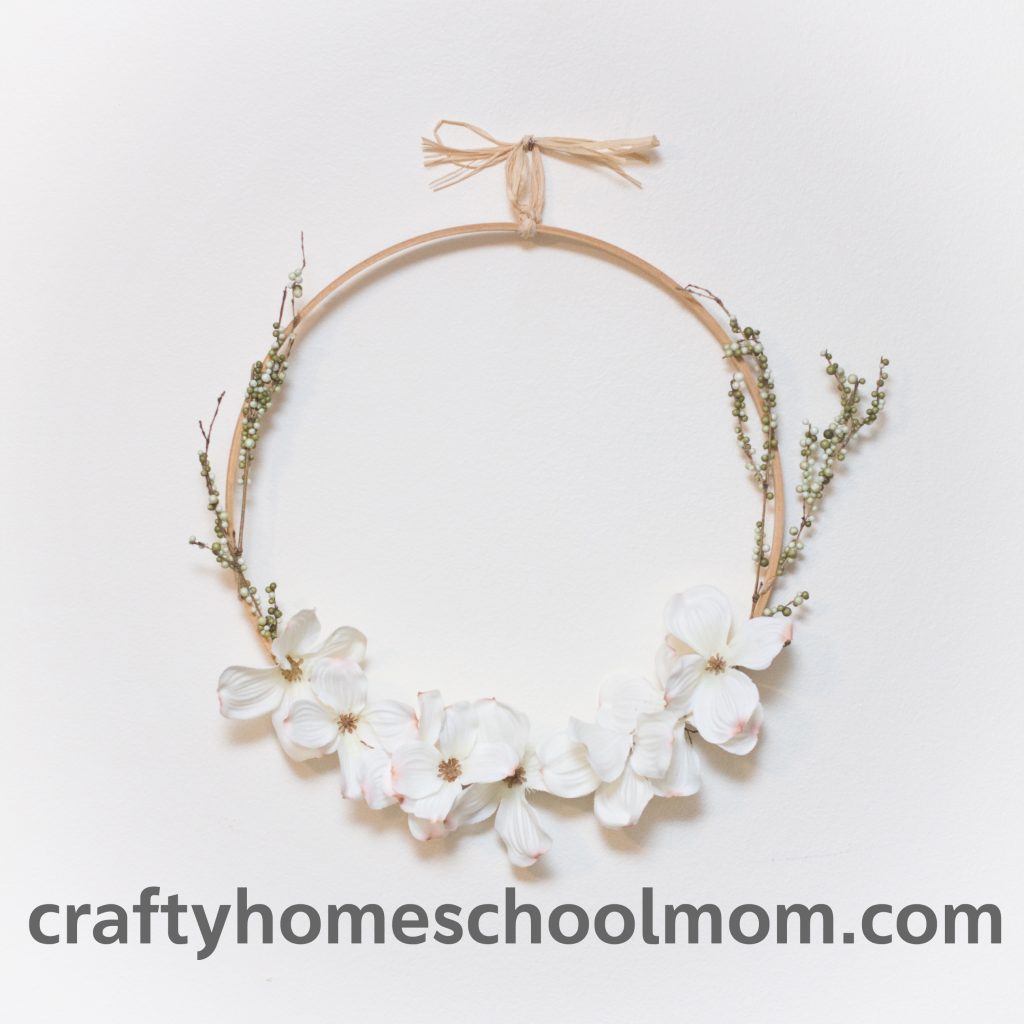
What do you think? Do you love dogwoods as much as I do? They’re so, so simple and pretty. I just love looking through the woods and seeing all the dogwoods in bloom before the other trees open their leaves. I think this wreath really reflects that beauty.
Leave a Reply