When preparing my gallery wall, I knew I wanted some kind of state silhouette artwork, but when shopping around, what I found was a lot more than I wanted to spend. So…I decided to make my own! It was so simple that I wanted to share the tutorial with you.

DIY State Silhouette Artwork – No Cricut Needed!
What you’ll need:
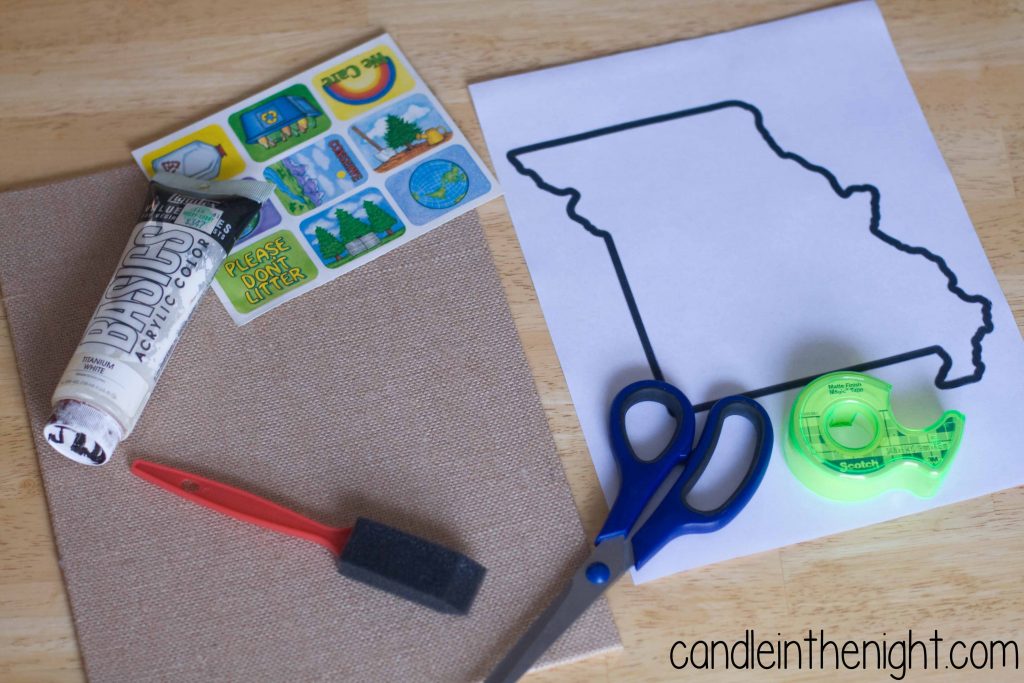
- Burlap canvas (Mine were 9×12, but you could make these any size you want.)
- Outline map of your state
- Heart stickers (or stickers to cut a heart out of like I did)
- White acrylic paint in a tube (This is important! The stuff in the bottles is too runny for this project.)
- Sponge brush
- Scissors
- Tape
Step 1: Cut out your state outline and check to make sure it’s the size you want. Start cutting in the center of your state so you create a stencil.

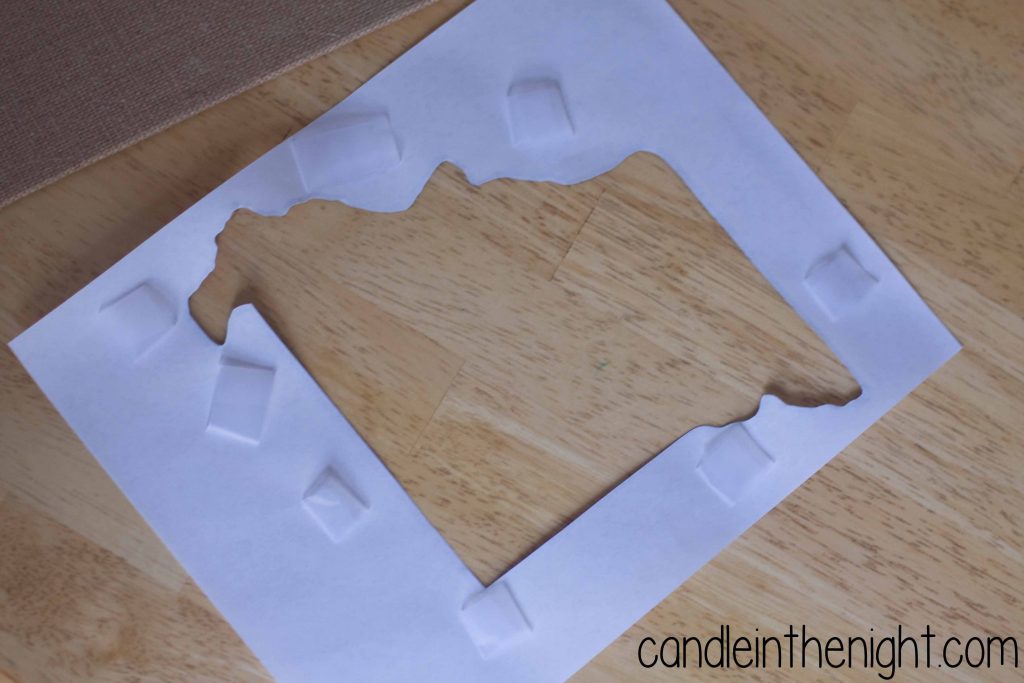
Step 2: Put rolls of tape on the back of your state stencil.
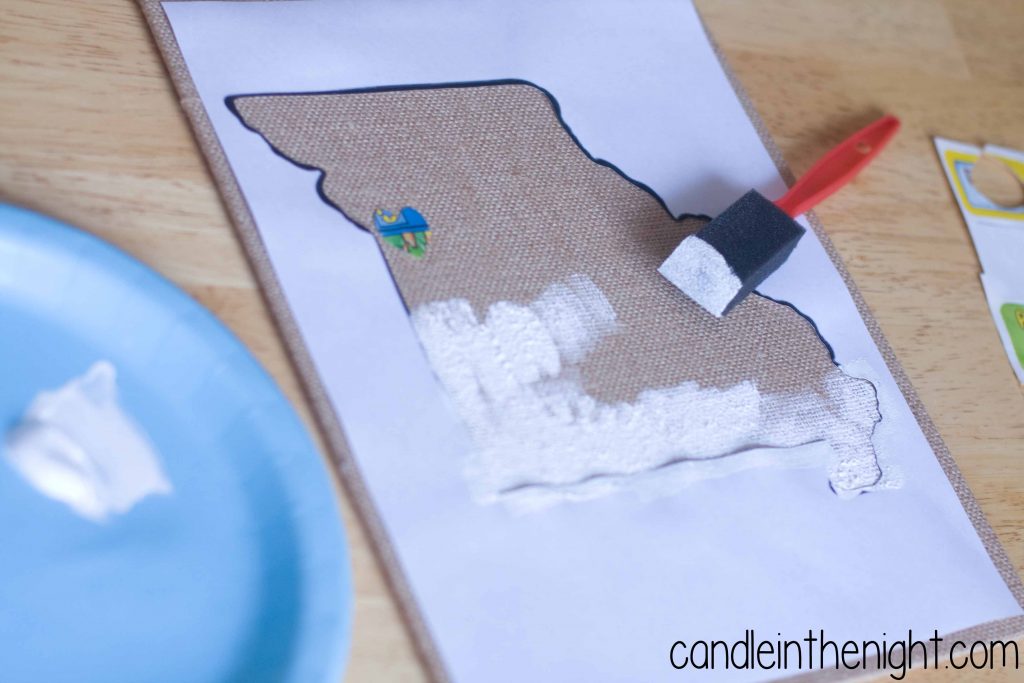
Step 3: Place your stencil and your heart sticker on your canvas.

Step 5: Begin painting. Use the sponge brush to dab paint onto the canvas. Start with just a little paint and work more on as you go. Be extra careful around the edges! Stay away from the heart at the beginning.
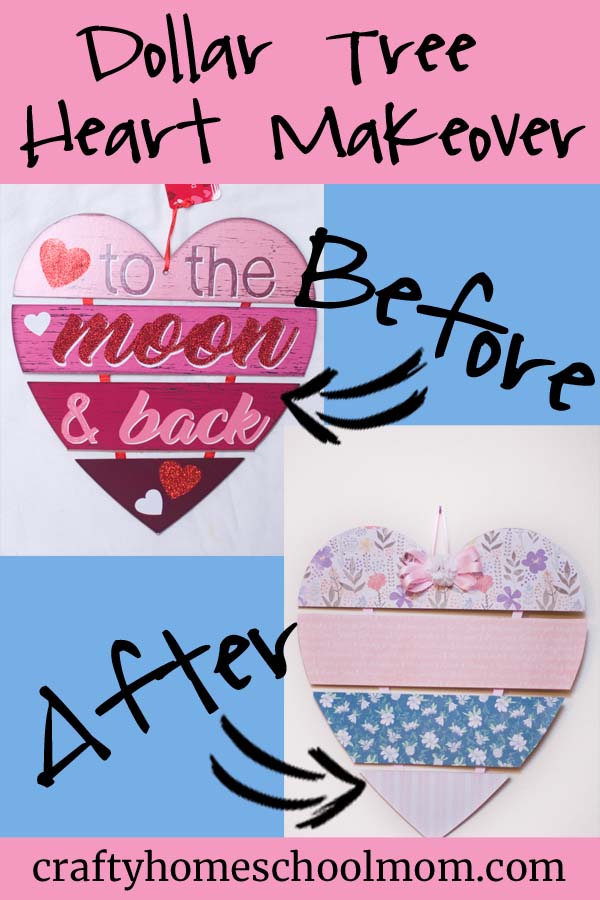
Looking for another great craft idea? Try this DIY Valentine Heart Makeover!
Go all around the state, avoiding the heart. Once you dab the heart sticker, it comes off easily, so save that spot for the end. 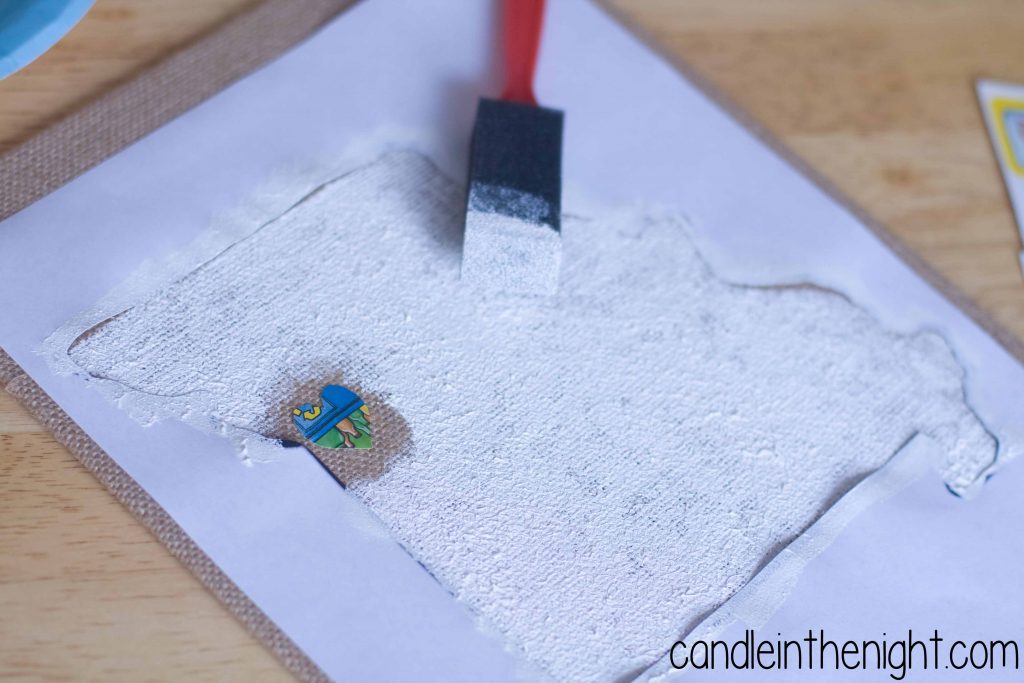
Step 6: Holding onto the heart with your finger, dab paint around the heart. At this point, make sure everything is covered as much as you like. I left some places where the burlap showed through to give it more of a rustic look, but you could cover it completely. 
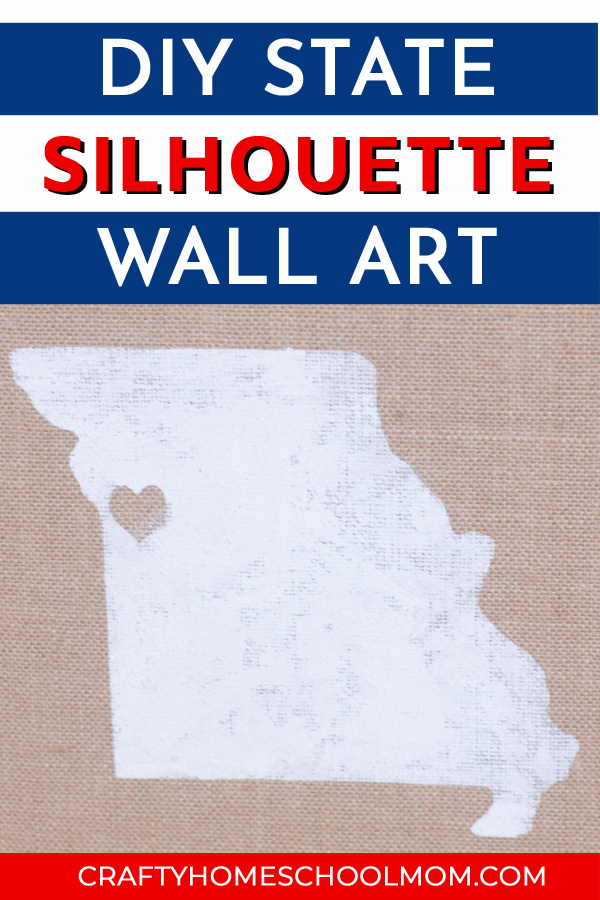
Step 7: Gently remove the heart sticker and the paper and admire your finished state silhouette artwork that you created for a tiny fraction of the cost of having one custom made!
Wow awesome Craft
Thanks! 🙂
This is so easy but so effective. Thanks for sharing!
No problem! Glad you enjoyed it! 🙂