My babies have all become attached to one lovey or another. H became attached to a LARGE crocheted blanket. It was sweet…until she became a toddler and dragged it everywhere. Then it was dirty All. The. Time. So with M, I decided to try to get her attached to a smaller lovey. She has what she calls a “Little Tiny Blanket” that is her favorite! It’s silky on one side and soft on the other and she always sleeps with her cheek resting on the silky side. When D was born, I tried to find him a little tiny blanket like M’s, but I couldn’t find one anywhere. There were lots of loveys on the market, but they all seemed to have an animal attached to them. Not very nice for resting your head on.
So I decided to make one! It was super easy and today, I’m sharing with you how to make your own lovey blanket.

Making things for your baby? Don’t miss this DIY Baby Wrap Tutorial!
How to Make Your Own Lovey
Materials:
Two squares of fabric. I used a silky fabric and a soft, but you could use virtually anything. You could also do any size, but mine were approximately 12×12. These fabrics are SO slippery, so the squares weren’t perfect.
Ribbon for “tags”
Step 1: Lay two layers of fabric right sides together.

Step 2: Fold ribbon, right sides out and pin inside the two layers of fabric as shown.
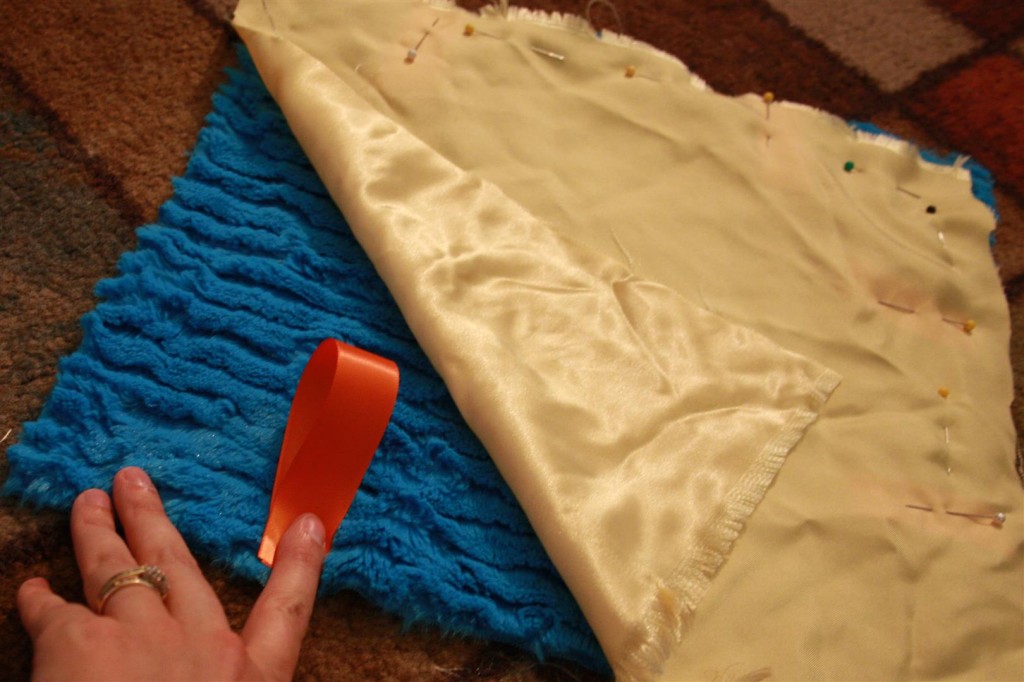
Step 3: Pin around all the edges. I used LOTS of pins because it’s so hard to keep these fabrics straight.
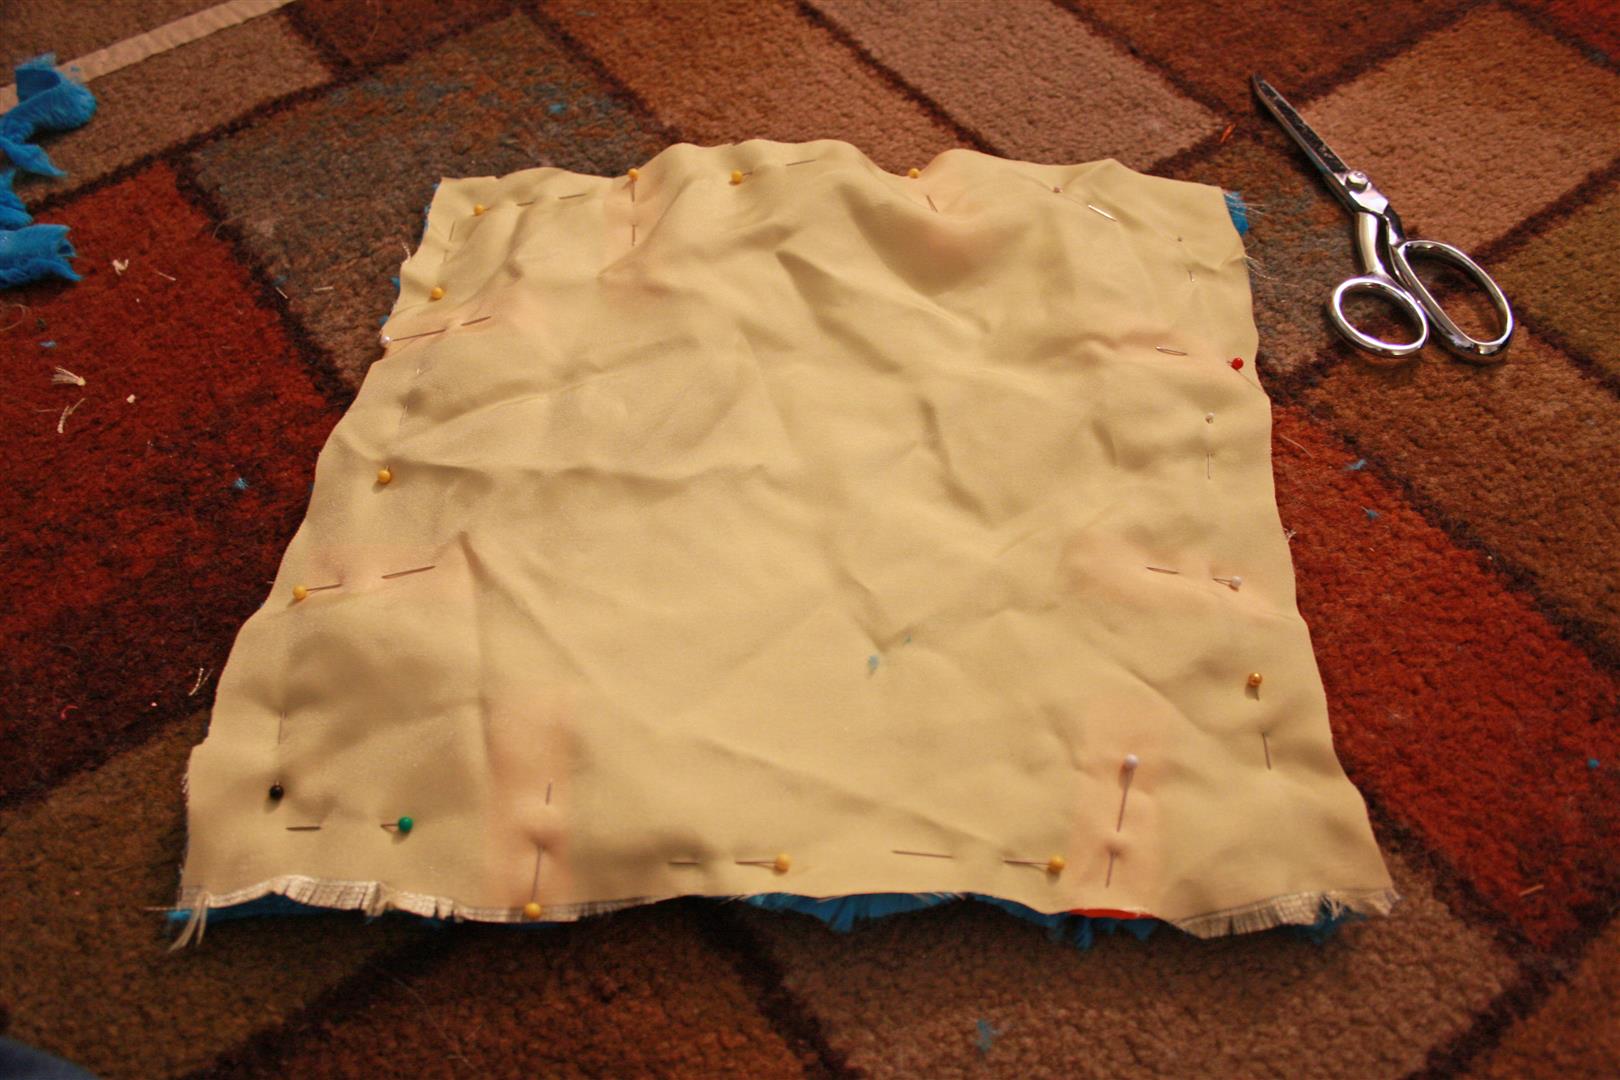
Step 4: Sew all the way around, leaving just a couple inches on one corner open. Be sure to catch both layers of fabric and the ribbons all the way around.
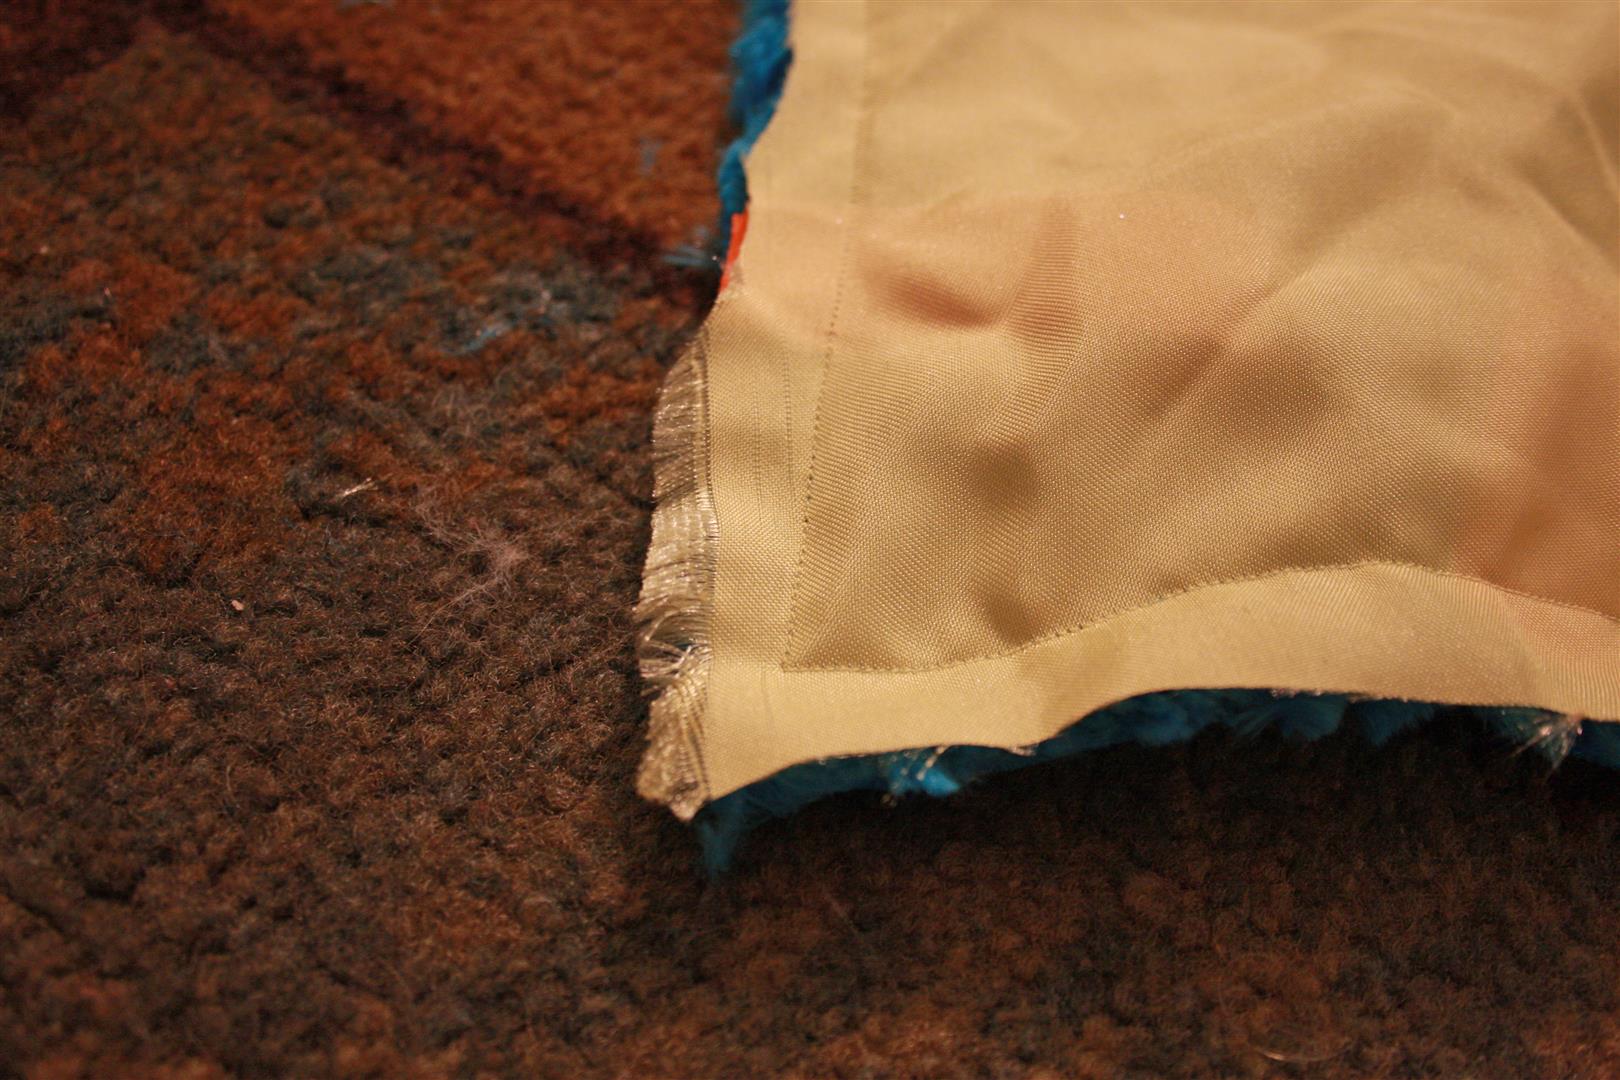
Step 5: Trim edges close to stitching. (Be careful not to cut into your stitches!!)
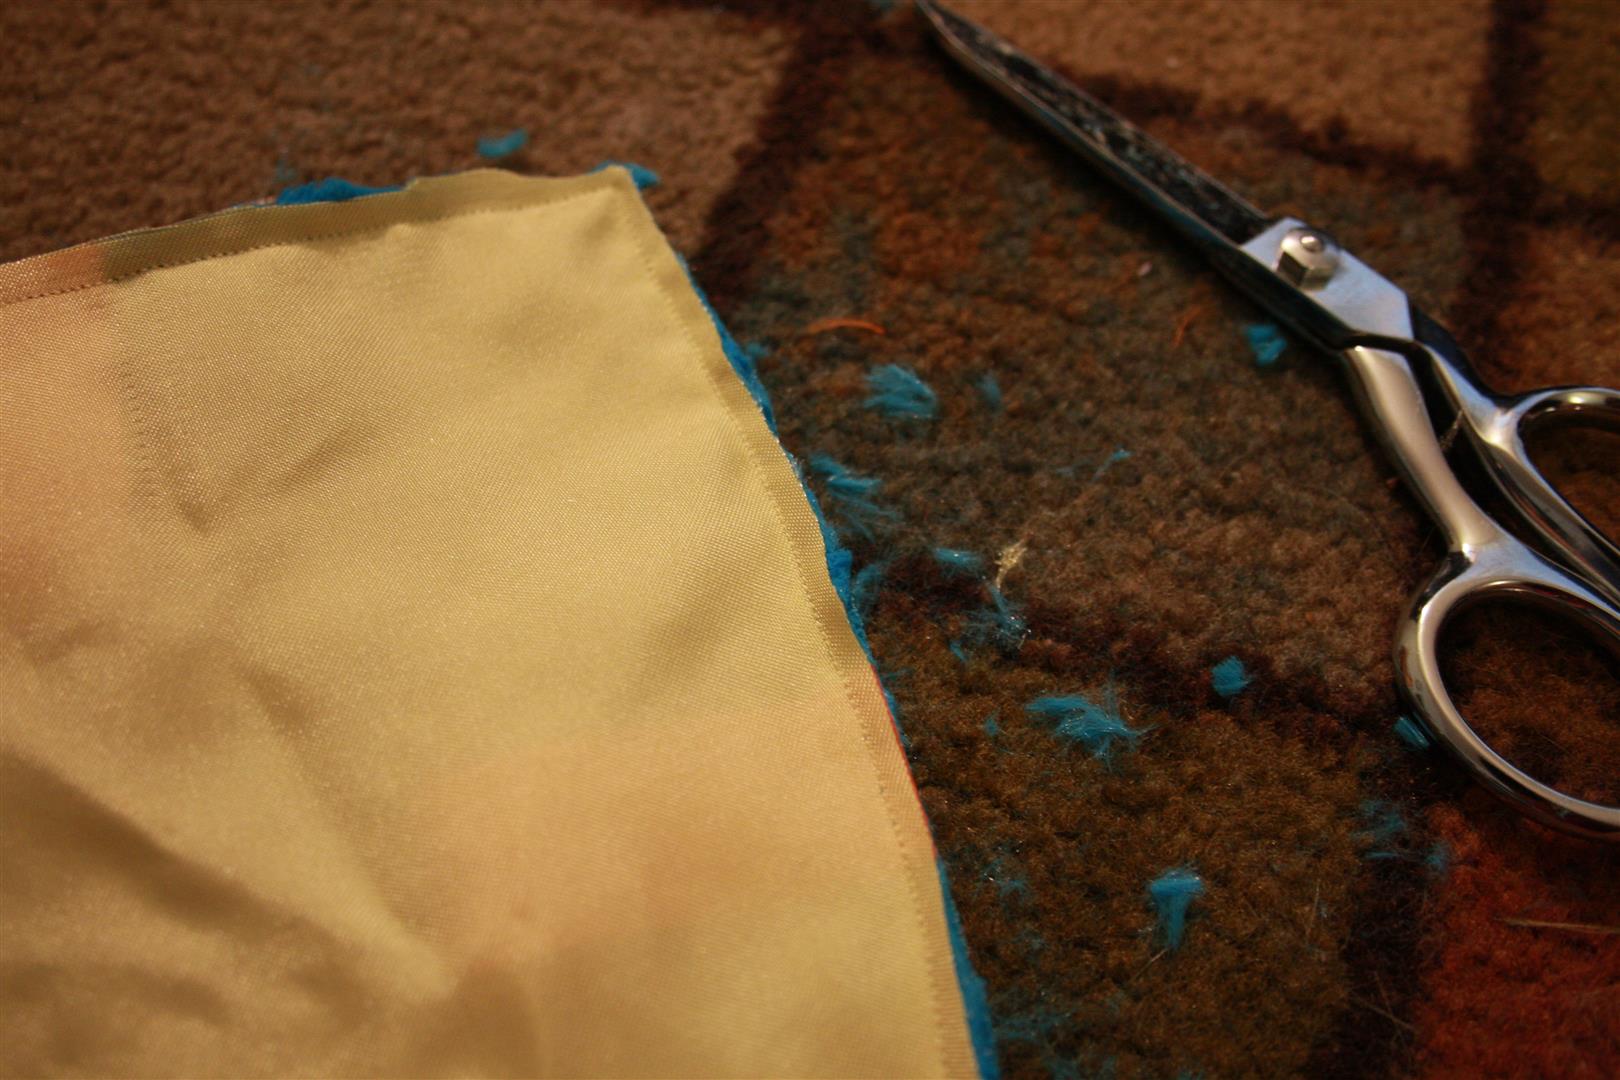
Step 6: Turn right side out and be SO impressed by how great it looks when you thought it’d look terrible because the the annoyingly slippery fabric!
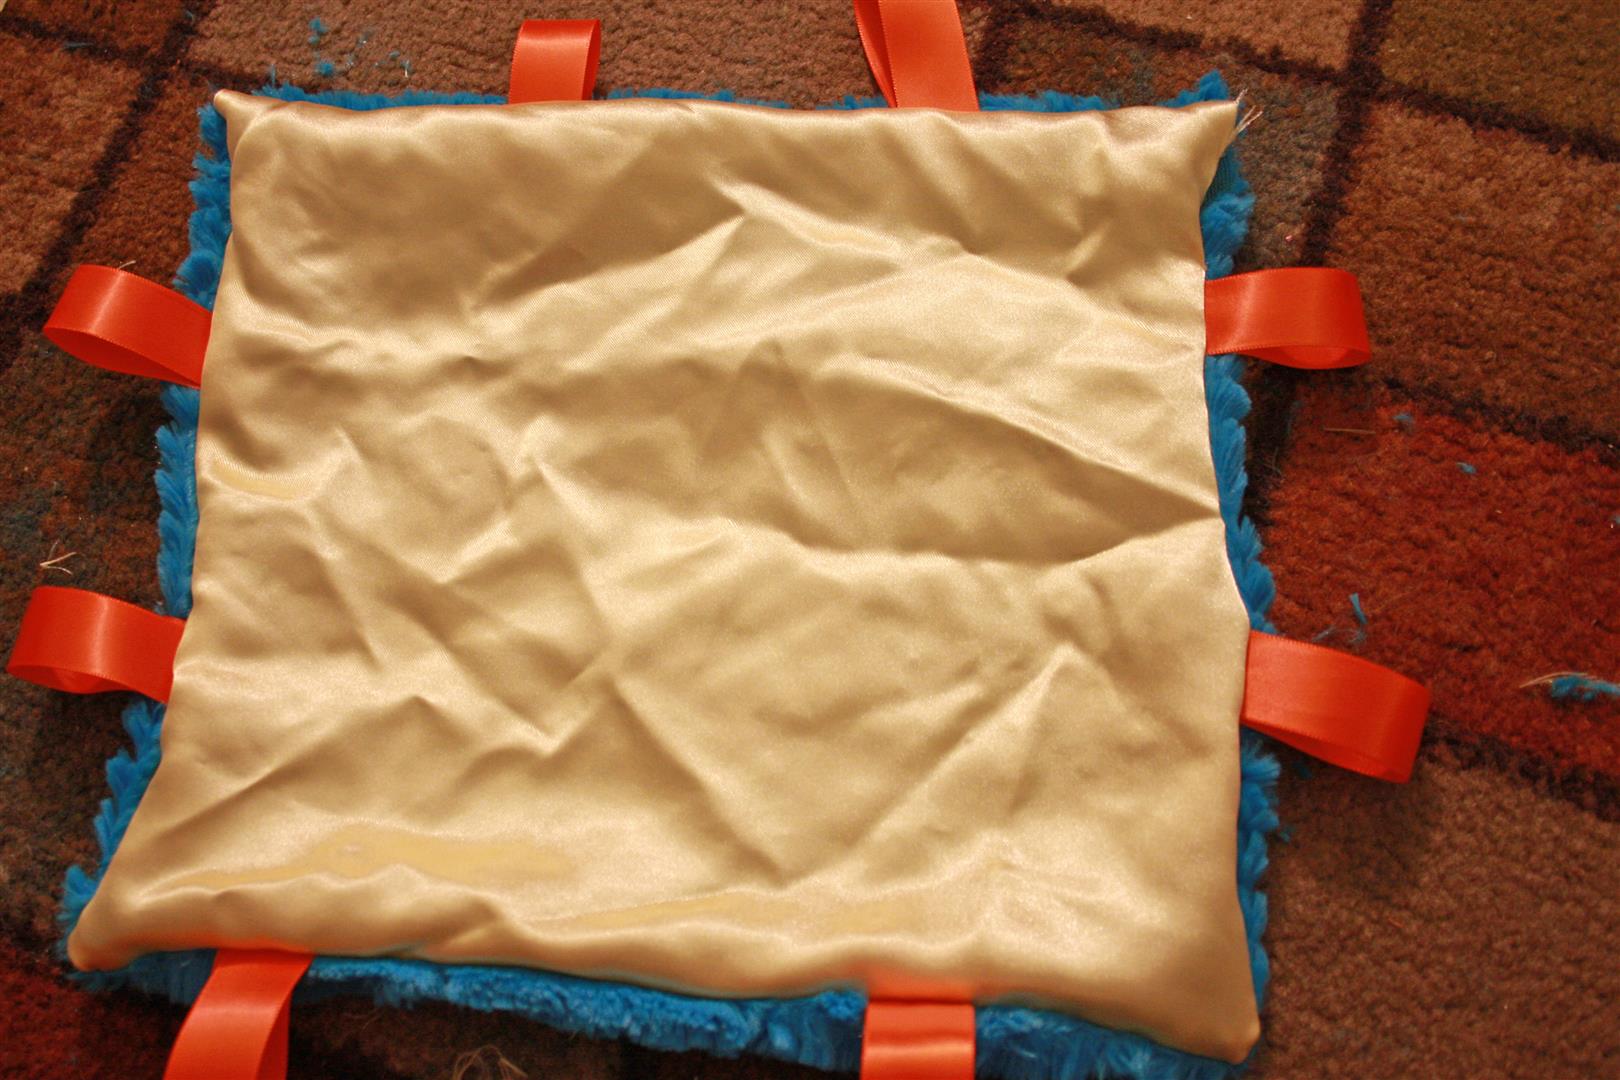
Step 7: Turn under the edges of the opening and pin shut.
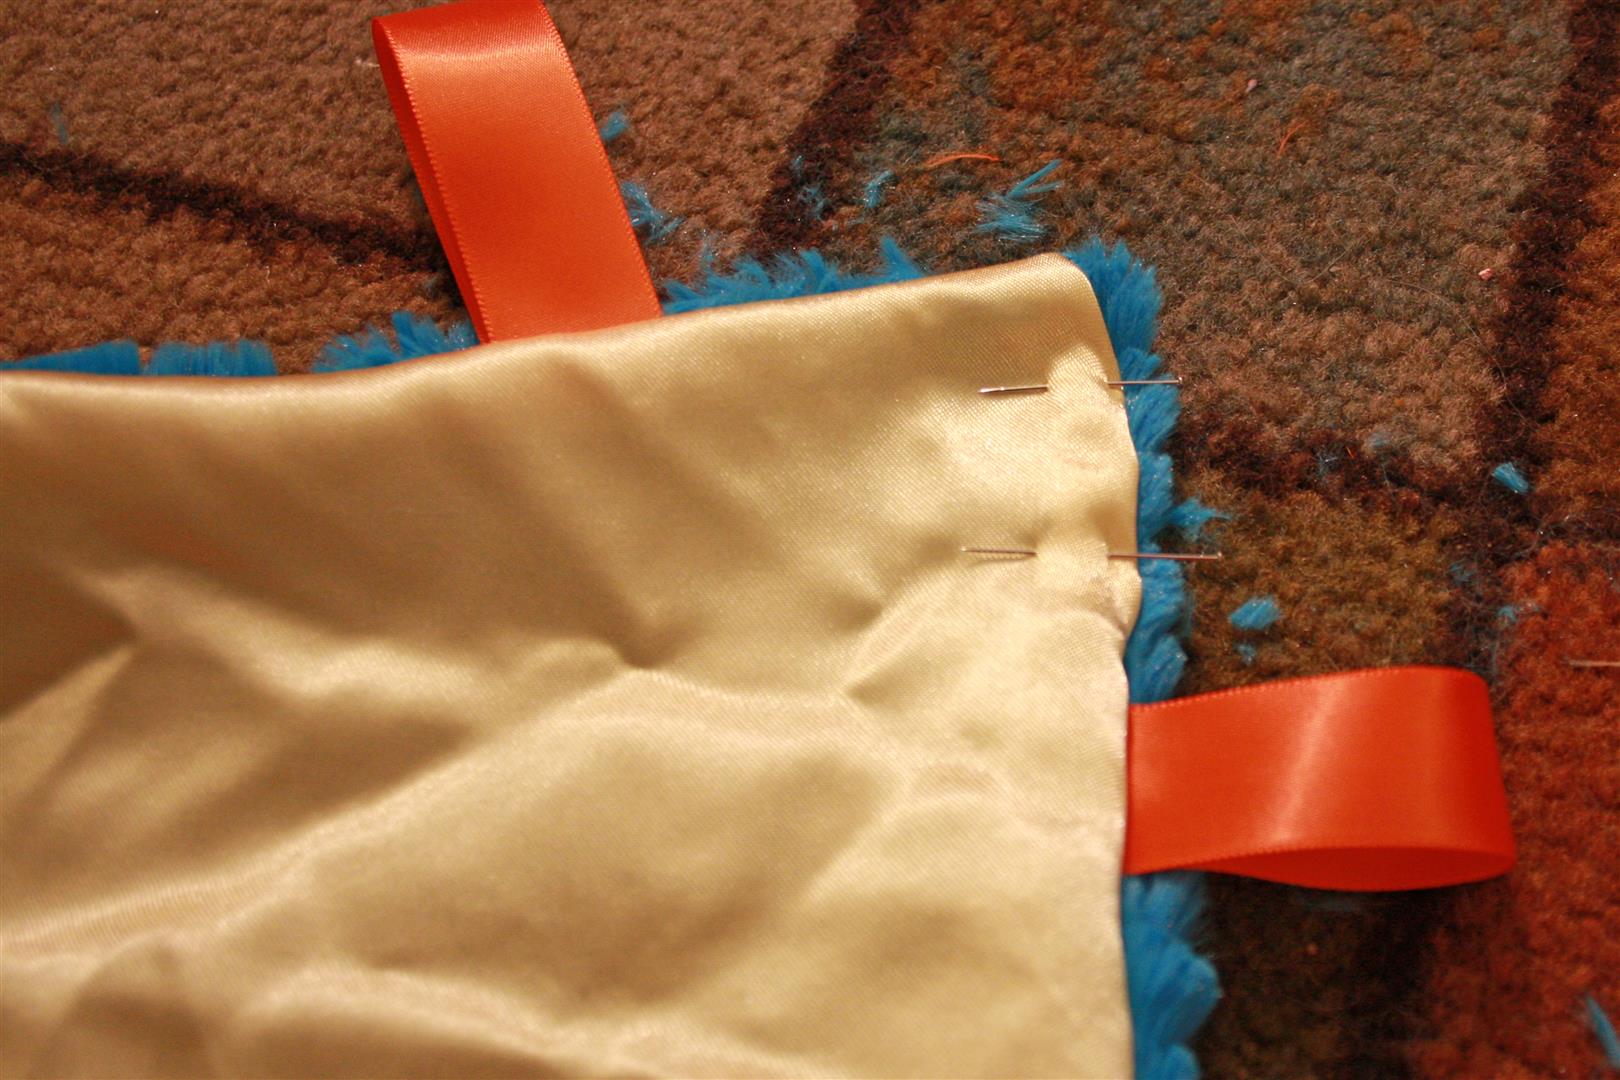
Step 8: Topstitch all the way around.
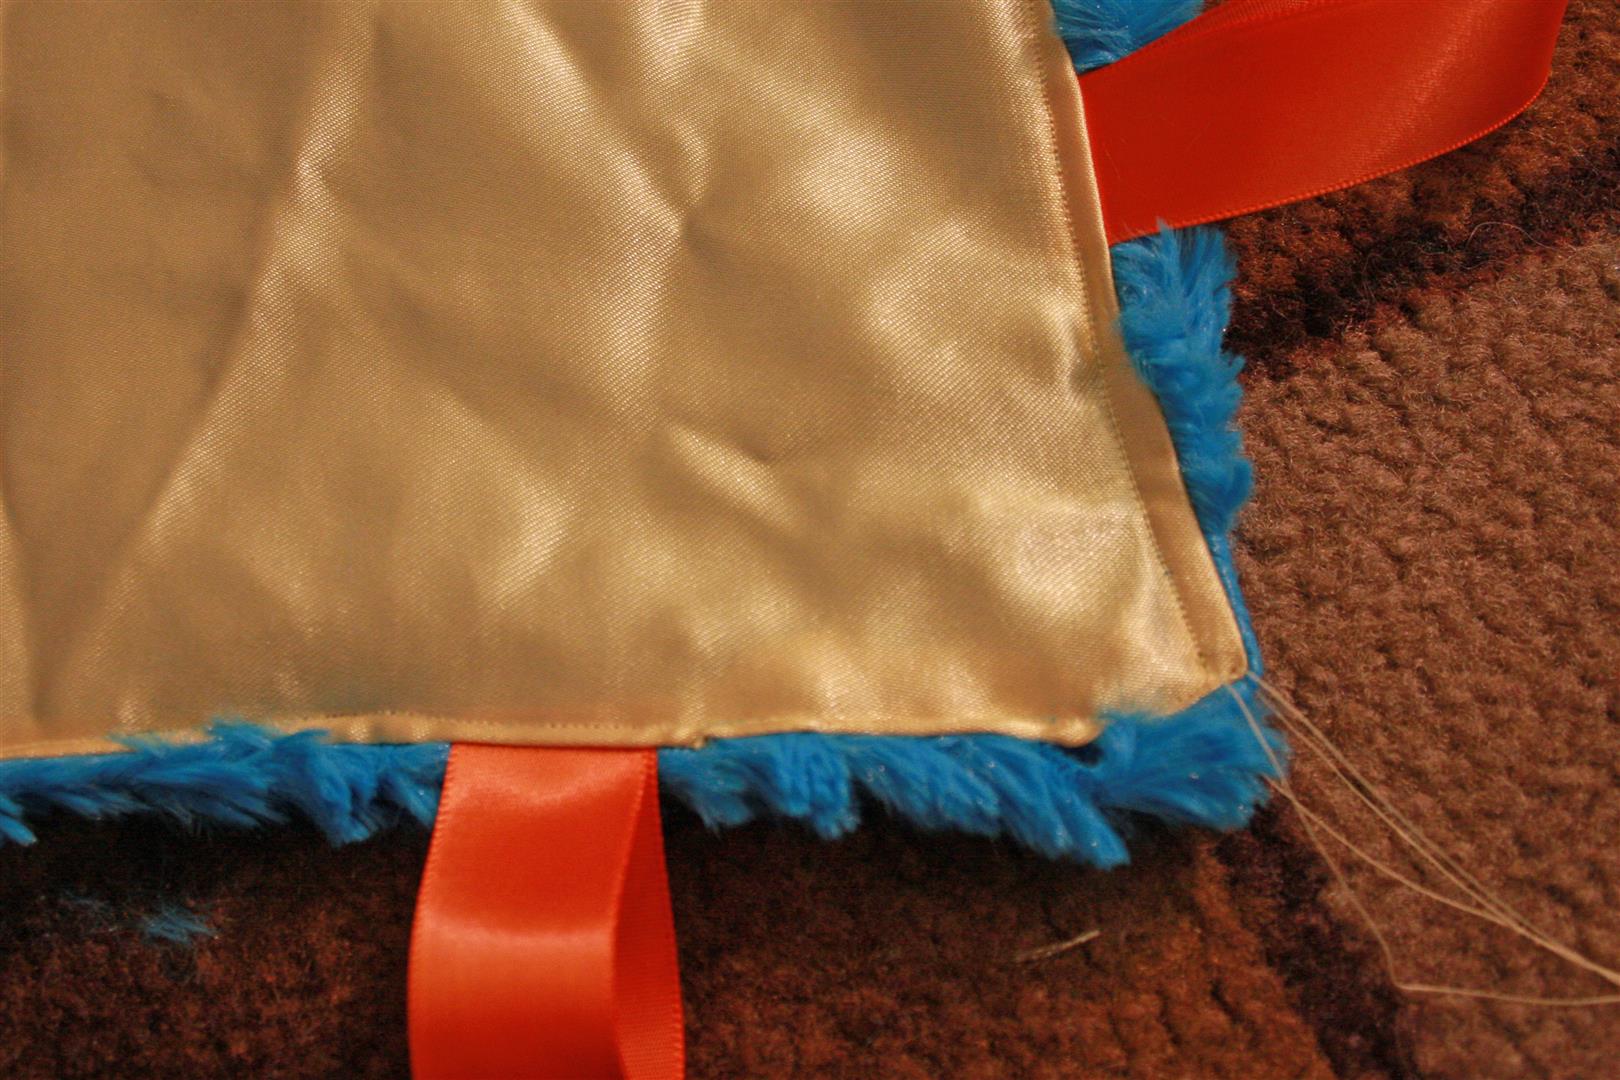
Step 9: You’ll want to tack down a little in the middle to keep the layers together and I sewed a little heart. 🙂
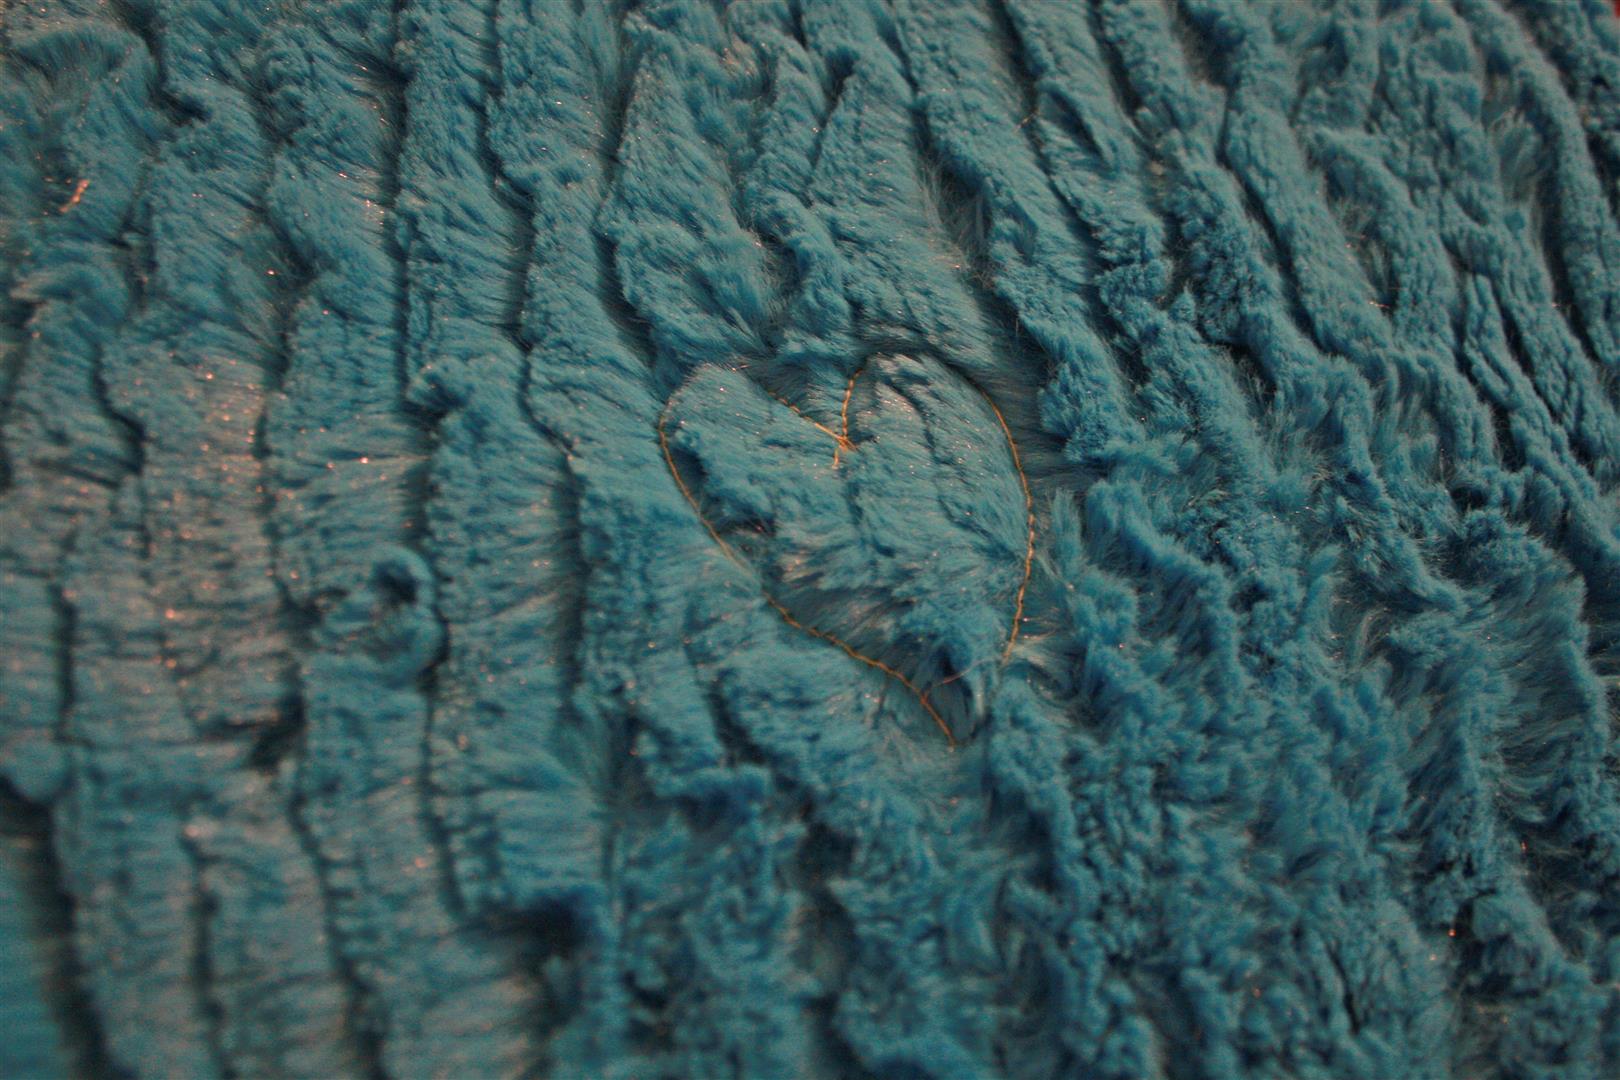
And that’s it! A simple project for your little one to love on for years! 🙂

Stopping by from http://www.HouseFullofLittles.net ! Love the tutorial! So sweet! Our littles LOVE these little blankets, so thanks for sharing!!
What a great project – thanks for sharing!
What a sweet little project! My boys never got too attached to blankets, but my oldest does have a favorite animal. I’m sharing with my followers.
THanks for linking up in the Bloggers Brags Party, I’m pinning this to the group board. :-
)