Today I’m going to share with you a project I did a while back and love! I can’t say I use this menu board consistently, but when I do, it saves me time, helps my budget, and my life is SO much more organized!
Menu Board Supplies
- large cork board with wood frame
- mini hooks that will screw into the wood frame
- clothes pins
- empty crayon boxes
- colored paper
- fabric
- binder rings
- printed recipe cards and menu cards
- hole punch
- pad of paper
- drill
- paint
- hot glue gun
- metallic sharpie
Planning My Menu Board
I combined three different ideas from Pinterest. This one, this one, and this one. The third one I mainly used for fabric backdrop inspiration. (Love, love, love that fabric! I found a pink version on Etsy and love it!)
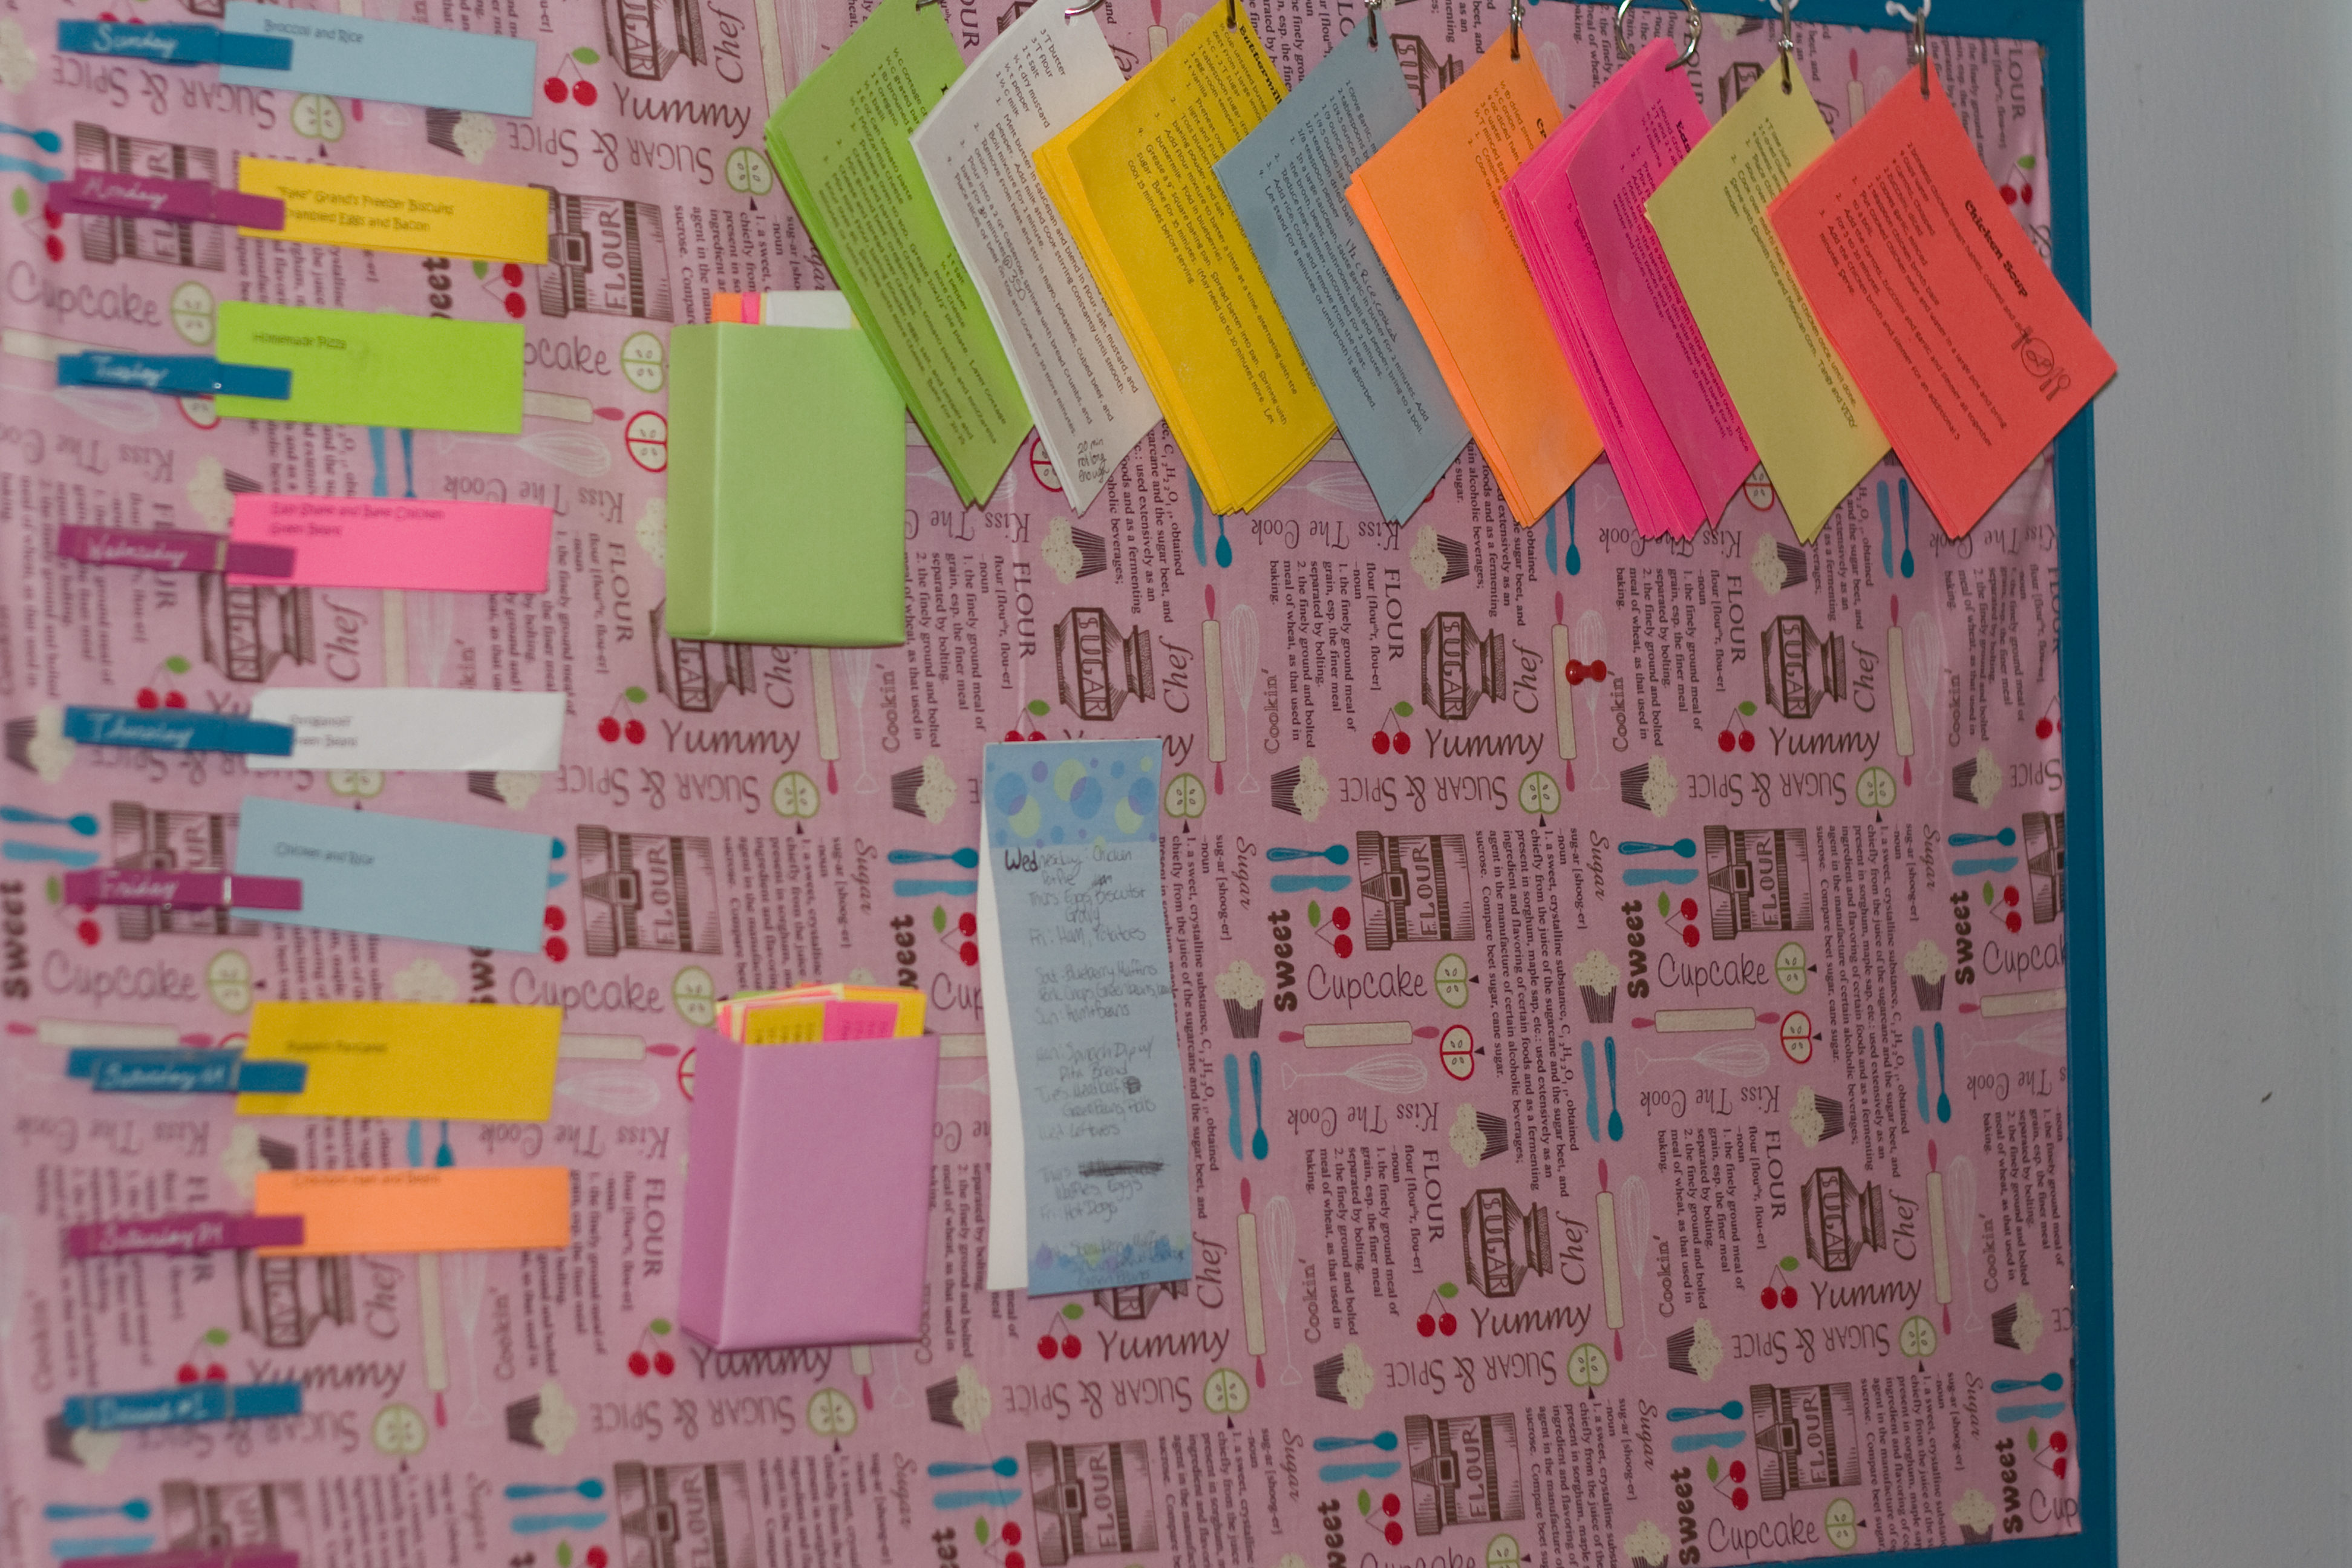
Here’s what I ended up with.

How My Menu Board Works
I have two kinds of cards. The thin strips are meal cards. They have the meal on the front and the ingredients on the back. The cards hanging across the top are the recipe cards. These cards are color coded by category. There are eight categories, breakfast, chicken, crock pot, home cooking, Italian, Mexican, rice and soup. I try to mix it up each week so I’m not doing all Mexican meals one week and all soup the next.
There are two pockets (made of crayon boxes!) to hold the meal cards. I pull from one and then place them in the other when they’re done to prevent me from cooking the same thing week after week.
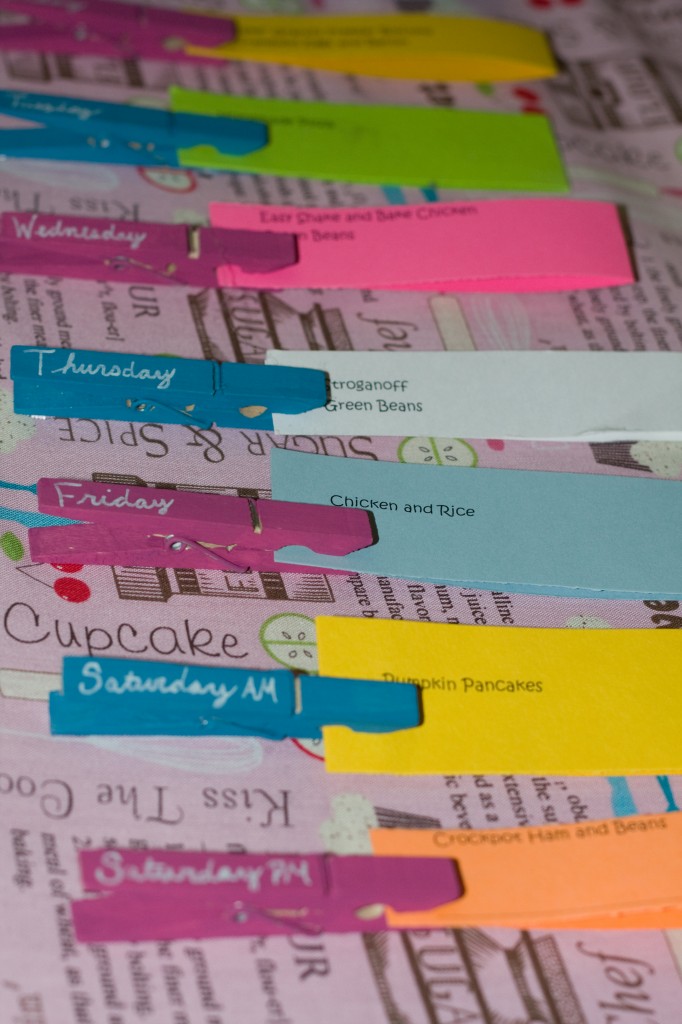
So here’s what my week looks like when I’m using this menu board. Wednesday evening, I choose all the meals and make my shopping list. I then place the chosen meals in the clips according to the day I’ll be making the meal. Thursday is shopping day. As I cook the meals, they get pulled from the clips and placed in the “Done” box. If something comes up and I don’t cook a certain day, I save that meal to cook the next week since I’ve already bought the ingredients.
How to Make Your Menu Board
Step 1: Cut your fabric
You want your fabric to be a little bigger than the corkboard part of your frame. That way, when you put it on your board, you can fold the edges under for a finished look.
Step 2: Paint
Get all your painting done at once. Paint your frame and your clothespins whatever color you want.
Step 3: Measure and drill
Measure and mark where you want the holes for your hooks. You’ll want them evenly spaced for a neat look. Then grab your drill and a bit the size of your hooks. Carefully drill holes in the frame. (Be careful! I may or may not have broken one of my husband’s drill bits doing this. Haha!)
Step 4: Add fabric
Place your fabric on your board and get it all smoothed down with the edges folded under nicely and the fabric pulled tight. If you’re really picky, you may want to iron your edges. I did not. Once you have it placed, use your hot glue gun to carefully glue down your fabric to the cork board. It’s important that the fabric is pulled tight and not sagging because you’re going to be gluing things to the fabric later.
Step 5: Mark days on your clothespins
With your metallic sharpie, add the days of the week to the clothespins.
Step 6: Prep your boxes
Cut lids off crayon boxes and cover both crayon boxes with paper.
Step 7: Attach everything
Use hot glue to attach clothespins, boxes, and pad of paper.
Step 8: Create your meal cards and recipe cards.
Create your cards using your favorite recipes and meals. This is the most time intensive part, but really pays off in the end. When you’re done, print them, cut them, punch holes, and use your binder rings to hold them together and hang them from the hooks.
The Menu Board Verdict
I really do love this meal planning system when I use it. I must confess, I get busy and just fly by the seat of my pants many weeks and end up having to make multiple trips to the store. This week, I’m actually using my free membership that came with the Ultimate Homemaking Bundle to Once a Month Meals, so this menu board isn’t in use. It was also a TON of work organizing my recipes, typing them up, making the meal cards, printing, cutting, etc. I do think it was worth it though because when I’m using it, it saves me lots of time and money.
This is great! I love how you combined several Pinterest ideas into one. Love the pics and how it all turned out.
Is it easy to keep up with?
This is such an awesome idea! I just love it. I may have to try it when we get to our new duty station in August!
Gig’em and God Bless
http://forgivenformerfeminist.blogspot.com
Thank you and thanks for coming by! Love your blog name, by the way!