A couple years ago, I ordered these mini succulents from Amazon for a different project. That project never ended up happening and the succulents hung out in my craft room for the next two years. I came across them a couple weeks ago and started brainstorming what I could use them for. The result? This cheery succulent wreath, perfect for spring decorating! (I’ve been really into wreaths lately! For more inspiration, check out my dogwood wreath tutorial.)
Pin this idea so you don’t forget!!
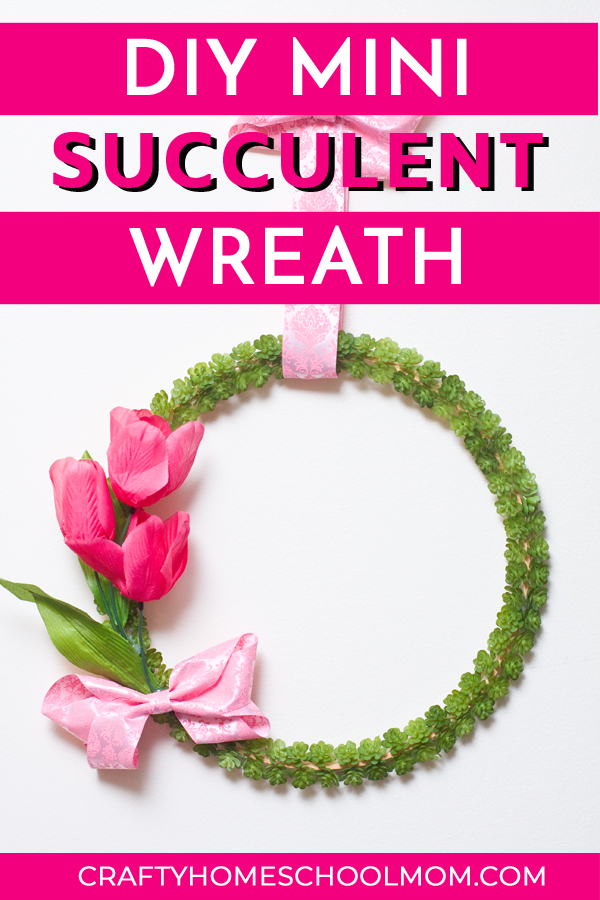
Supplies for Succulent Wreath
- Mini Succulents (These aren’t the exact ones I used, but are very similar. They have a little bit of red on them. Very pretty!)
- Embroidery Hoop
- Pink Artificial Tulips (Mine came from Dollar Tree, but you can also find them at Hobby Lobby or on Amazon.)
- Pink Ribbon (I got mine a long time ago and can’t find a match, but any pink ribbon would be pretty!)
- Hot Glue Gun and Glue

Step 1: Hot glue succulents to embroidery hoop
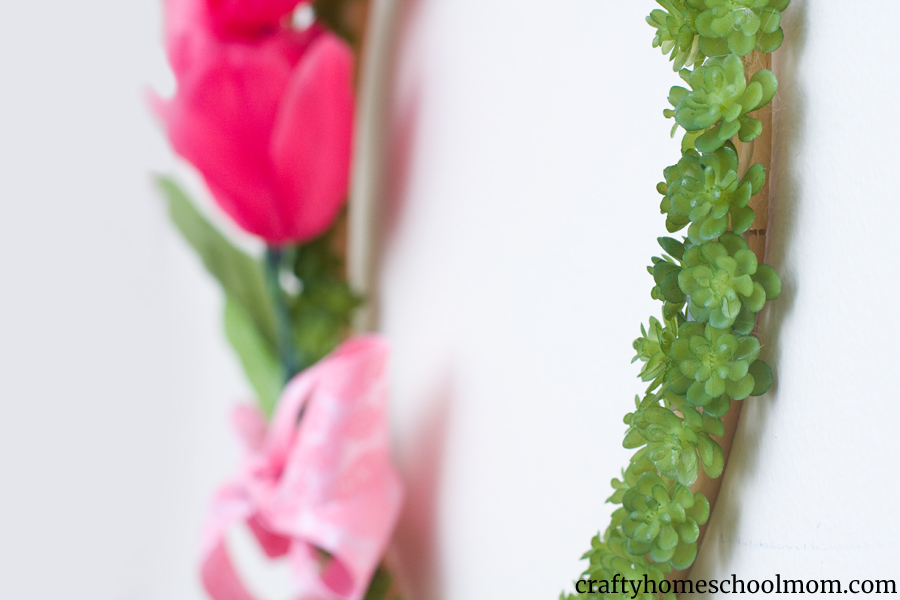
You want the front of the wreath to be where the front of the succulents are showing, so as you glue, you’ll want to kind of squeeze them toward the front. They don’t lay flat on the embroidery hoop. They are kind of on their sides pointing toward the top. You can see it in the picture below how they’ll be sitting. You’ll have to hold them as the glue dries.
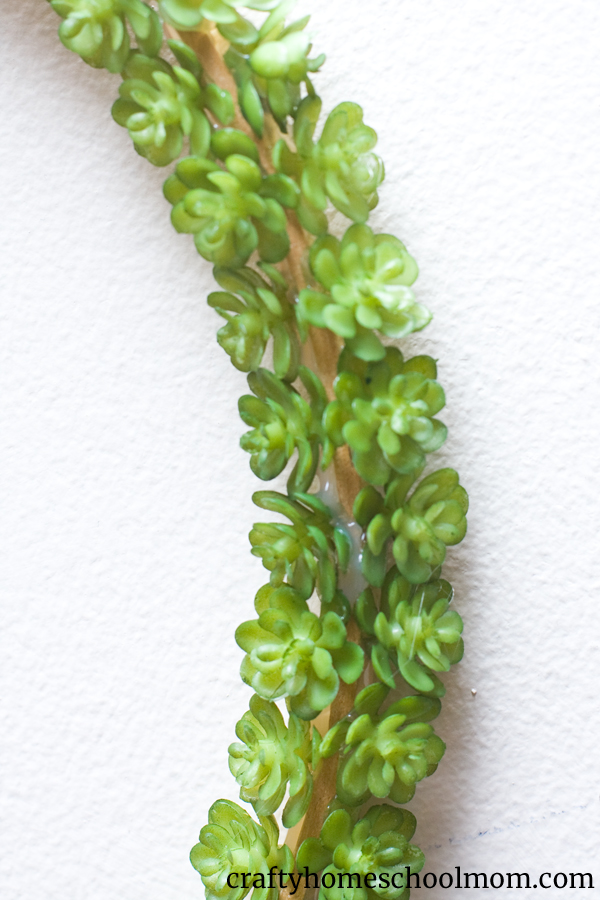
After the glue dries, go over the succulent stems with another thin coat of hot glue. This will really secure them in place.
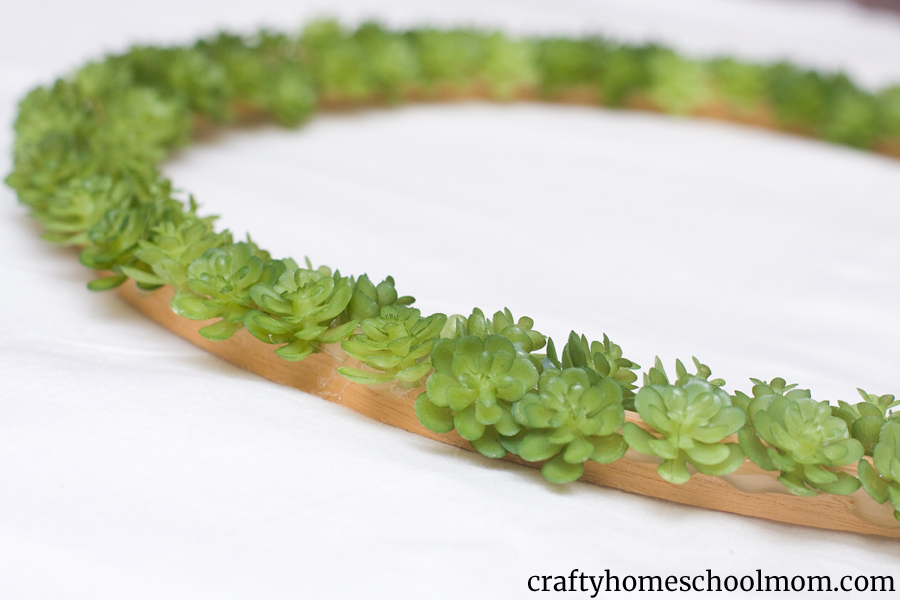
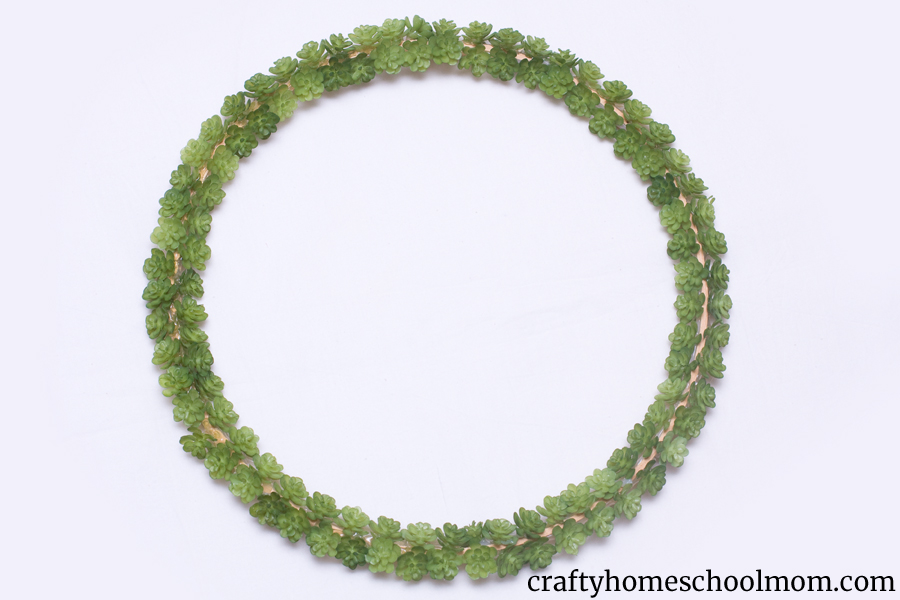
Work your way around the wreath until the whole thing is covered with the mini succulents. You can see in the photo below where I accidentally glued some of mind too far to the side and a lot of the wood shows through. That’s okay though, that’s where I ended up putting the tulips.
Is hot glue something that scares you? Don’t let it! It’s such a fun tool to work with once you’ve got the hang of it! If you’re a hot glue newbie, check out my free Glue Gun Guide for Beginners! It has lots of tips and tricks to get you started in no time!

Step 2: Add the tulips
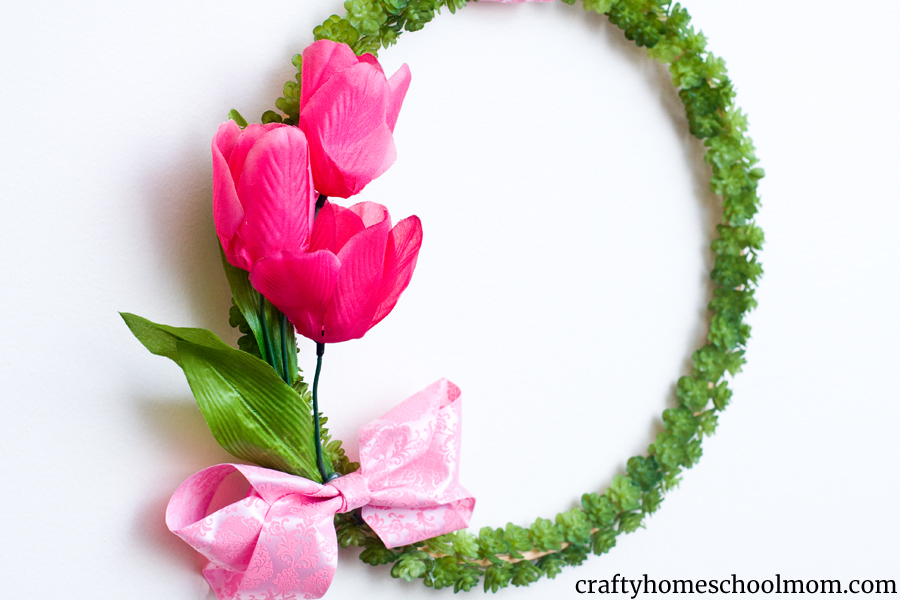
Position your tulips so they cover any really bare spots on your wreath. Then glue them on with hot glue. Hold them in place as they dry so they don’t slide off to the side. You may want to bend the stems so they slightly curve with the wreath. That’s the great thing about wire-stemmed flowers. They’re easy to manipulate!
Step 3: Add the bow
Make a bow out of pink ribbon and hot glue it to your wreath, covering the bottom of the tulip stems.
I went back and forth about whether or not I wanted a bow on my wreath. In the end, my 8 year old was really cheering for the bow, so I went with it. I’m so glad I did! It just makes the whole wreath a little more cheerful and springy!
If you have a hard time making bows, get my Beginners Guide to the Perfect Bow and be making beautiful bows in no time!

Step 4: Create a way to Hang your Succulent Wreath
I was really struggling with how to hang this wreath. I liked how it looked and didn’t want to add any other materials like twine and I didn’t want to have to have a big hanger on the wall for it. I ended up creating this hanger out of the ribbon I’d used for the bow and placing a second bow on top. In order for it to hang, I just made a pocket out of the ribbon. The pocket hangs right on the nail in the wall. It works great!

I really love the cheerful look this wreath gives my home! (Speaking of cheerful, you have to check out these cheery DIY decorative birdhouses!) This succulent wreath was simple and fun to make and is quite unique. Succulents are very popular right now and people seeing them will think you paid big bucks for this wreath, when really, the total cost only comes out to around $25.
Why a cheerful succulent wreath?
I’m a big believer that the mood we set in our homes effects everything in our life. People who want to create a calm setting might paint their walls light blue. People who want their home to be welcoming use warm colors.
Well, the end of winter is hard for me, as I’m sure it is for many of you. Adding in a cheerful spring wreath with bright colors makes my home feel more cheerful and me feel more cheerful as well!

Leave a Reply